Congratulations, for you to search for information on how to dry and cure cannabis, you must have done an impressive job earlier to get your frosty buds. Really, it counts; very few people get this far. The best thing with this stage is that it’s more passive, if you grew just a plant or two, curing cannabis feels like walking barefoot on your neatly mowed lawn as the virgin grass massages your feet— blissful!
Surely, if you have grown your weed from seed to bud, drying and curing won’t be a problem. Yet, it is also the stage where you can lose the quality of your buds after breaking sweat nursing your lovely plants. This stage will influence the smoking experience you have when smoking this weed, but it does much more.
The drying and curing stage is responsible for the aroma, the dominant cannabinoids, and the potency of your weed. You must, therefore, find the right information, tools, and awaken the learner in you to do it right. Sounds scary, right? That’s because I don’t want you to lose your high-quality buds in the last phase of the growing process. In this article, you’ll learn how to treat your harvest like the blessing it is, so that it grows in potency and make your stoning sessions merrier. But first;
Why is drying and curing cannabis so important?
The stage is not only important but also deeply gratifying. Unlike the other stages, the drying and curing stage gives you the closest hint to what your final product will be. A lot changes, but you know a good bud when you see it, and that should be enough motivation to do it right. It is also here that the possibility of smoking your own buds comes clearer. Here are the reasons why drying and curing cannabis is essential;
Preservation– Drying the weed rids it of the moisture content that might lead to the growth of molds and reduce the quality of your yield. When you harvest the whole plant, you get more buds than you can use in a few days. Curing helps you to consume your weed in bits while keeping the remaining yield in conditions that improve its quality.
Come to think of it, drying food has been with us for the longest time. Before refrigerators and cold rooms, people dried food in the sun and cured it with salt to preserve it for later. That’s an odd way to put it, but history knows drying and curing are essential to retaining food quality, even today— the means of drying and curing might be advanced now, but the goal is still the same.
To activate the cannabinoids- When the buds are wet, the THC, among other cannabinoids, are present but inactive. It is through the drying and curing process that these compounds are activated.
Improve the combustibility of the buds- Have you ever found yourself with weed that just won’t burn. You try lighting it, and it sure lights, but it dies a few minutes later. That’s weed that hasn’t been properly dried and cured. When the process is done well, your weed will not only combust easily but will also burn uniformly.
Drying weed reduces the smell- After harvesting, when the weed is still wet, it emits such a strong odor. If you ever notice, the first days you hang the plants in the cabinet to dry, the smell was intense, but as days went by, the smell that hit you when you opened the door was growing less intense. That’s what drying does; it makes everything strong except the odor. How wonderful that is!
To avoid mold and other bacteria- Though your weed might appear dry after the drying stage, they still hold some moisture in them. This moisture is what fosters the growth of mold that reduces the quality of your weed. That is where the curing process helps. By keeping your buds in an airtight jar where they don’t dry too fast and lose terpenes, they will dry slowly, preserving the cannabinoids in your weed.
How to dry and cure cannabis properly
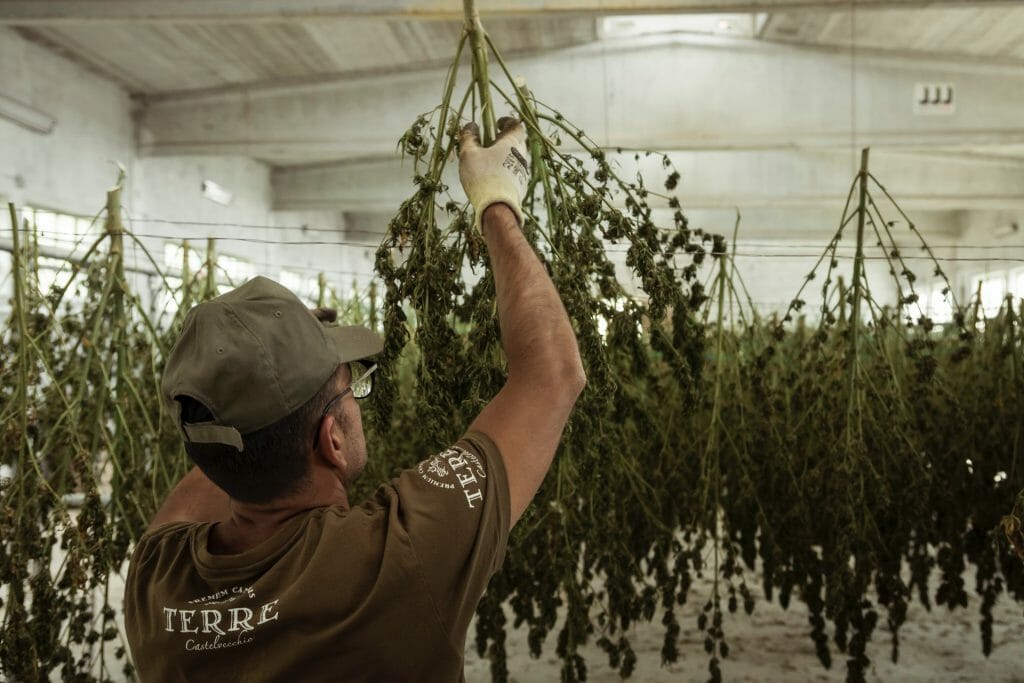
Begin by cutting the plants from the main stem and hanging then upside down like you would drip-dry your favorite T-shirt. Keep the room dark. Remember, the plants are still green, and exposure to light might cause oxidation of the very trichomes you want to preserve.
You also want to check on the humidity of your drying room, too high humidity might cause the buds to rot, and too low humidity will make the buds dry too fast and lose its rich components. The humidity should be around 60%, with temperatures of about 20°C.
Ensure there is a good airflow within the drying room. You can use fans to help improve airflow and keep the room at the right temperature. In case of high humidity, use a dehumidifier to keep everything within range.
It’s essential to keep these climatic controls, so invest in a thermo-hygrometer, dehumidifier, and a fan. If you haven’t bought these essentials, you can check the price on Amazon: thermo-hygrometer, dehumidifier, and fan. (I picked the ones with best ratings and most positive reviews).
Leave the plants in that state for between 7-10 days. You can be coming to check temperatures and humidity within the grow room, but it’s crucial to retain the darkness whenever you walk in. Depending on the strain, your weed should be dry enough for the next stage. But just to be sure, here’s how you know;
How do you know weed is ready for curing?
Well, here you will have to use a bit of your discretion and a lot of observation. After the seventh day, take a walk into your drying room and snap your buds from the main stem. If it breaks with a snapping sound, it is ready for curing. If it bends, it isn’t dry enough, let it sit there for more days.
Also, when ready for curing, the color of your buds won’t be as green, but somewhat brownish. Though some strains have a deeper green that weakens with the process, they won’t be as green as they were when you harvested them.
The weight will also drop significantly because of the lost moisture. The fall in weight shouldn’t worry you if you did everything right because you shall have retained the good stuff.
How to cure cannabis the right way
When you dry your buds, they might appear dry on the outside, but they still hold moisture in them. If left with this moisture, they will attract mold and reduce their potency. On the other hand, if they dry too fast, they will lose all the good stuff leaving you with empty, crunchy dry leaves.
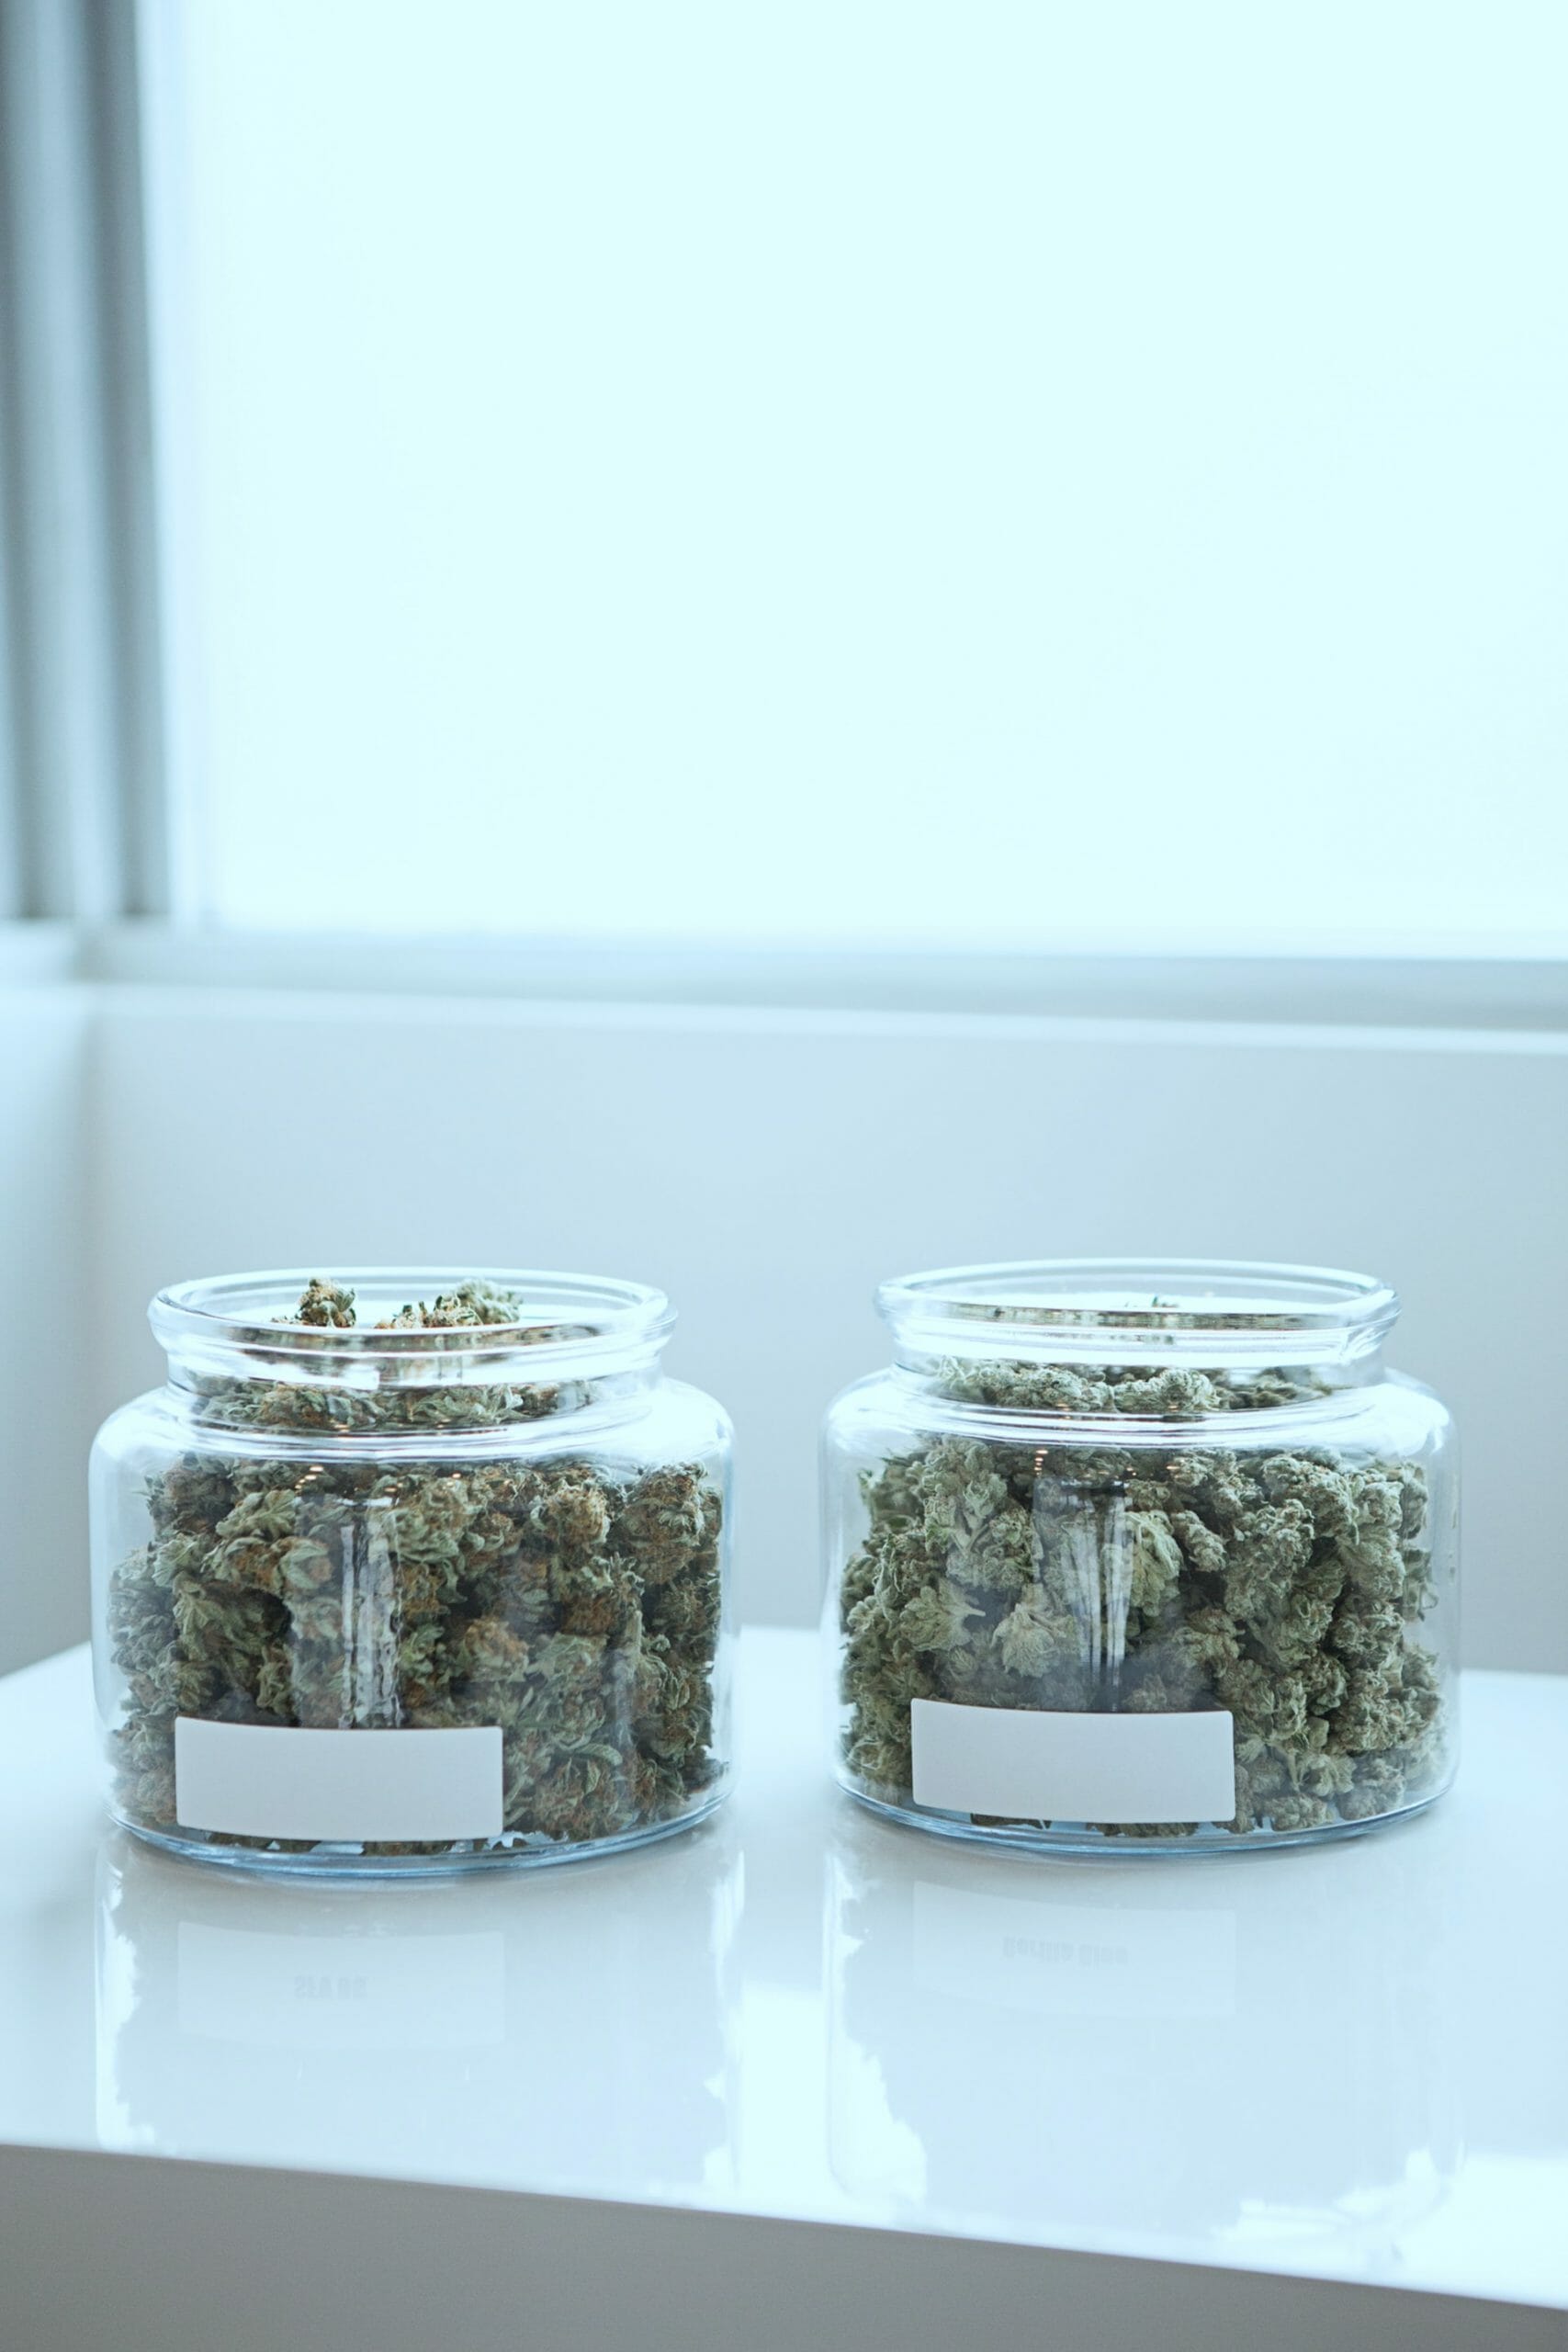
To cure your weed properly, you will need air-sealed jars. Fill 2/3 of the jar with your buds. The space you leave is for air to keep humidity in check. Keep these jars tight, burping them every day for about 10 minutes.
Burping involves opening the container and letting the moisture evaporate. You can turn the buds to free trapped moisture between them. Check for molds, and removing any that’s affected to contain the spread of molds.
You will burp for between 7-15 days. But the duration of burping will change daily. Keep reducing the duration every day by a minute. That’s right; you need a timer for this. You lessen the burping duration because at the beginning, the buds have a lot of moisture to lose. But as curing continues, the buds have less and less moisture to lose, and more prolonged exposure to air depletes all the moisture— reducing its quality.
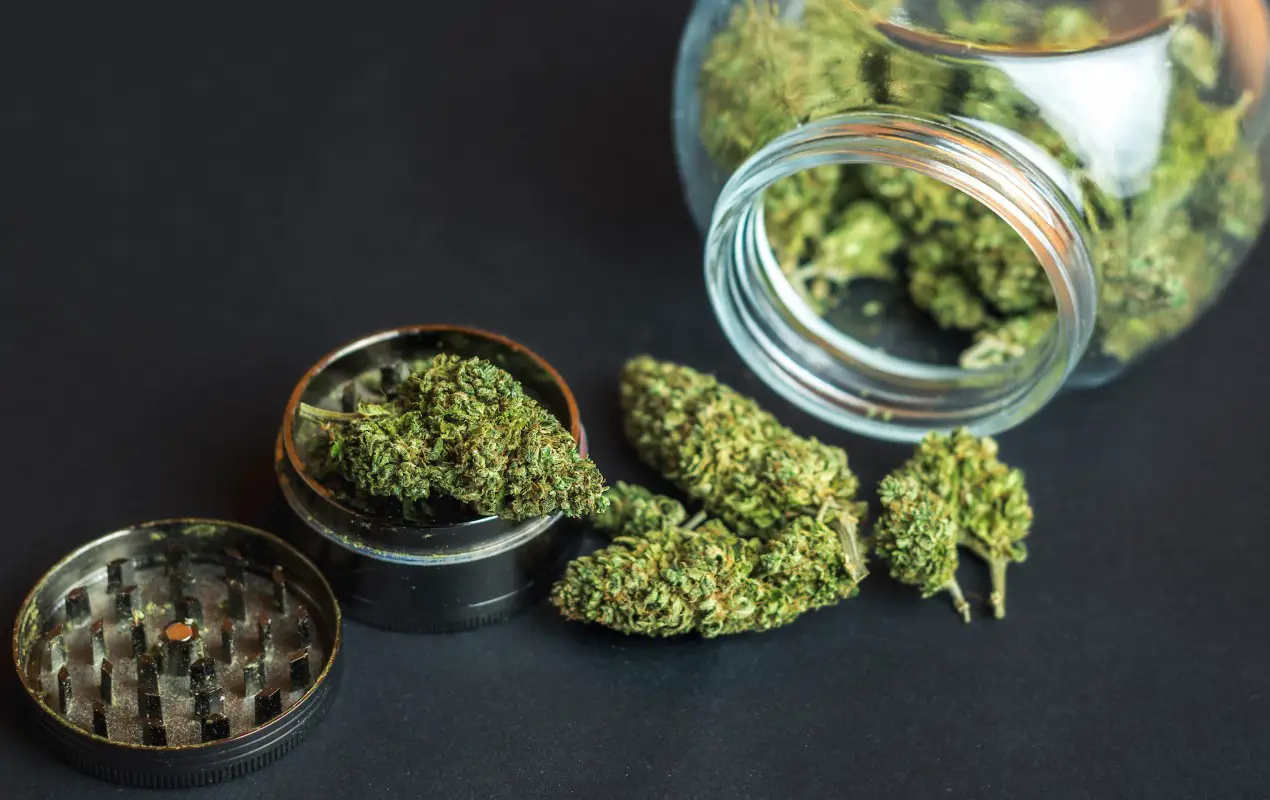
After this, you will be greeted by the sweet aroma of some ready-to-smoke-buds. You can now taste your weed. Long wait, but if you do everything right, it’s always worth the wait.
In conclusion
The process of drying and curing cannabis isn’t entirely about draining the buds of their moisture content— it’s about retaining some moisture in the buds and ‘draining’ the rest. It’s art and science in small buds. And you have to get it right if you want to have the best marijuana experience. I hope this guide ill help you get the best out of your buds.


