
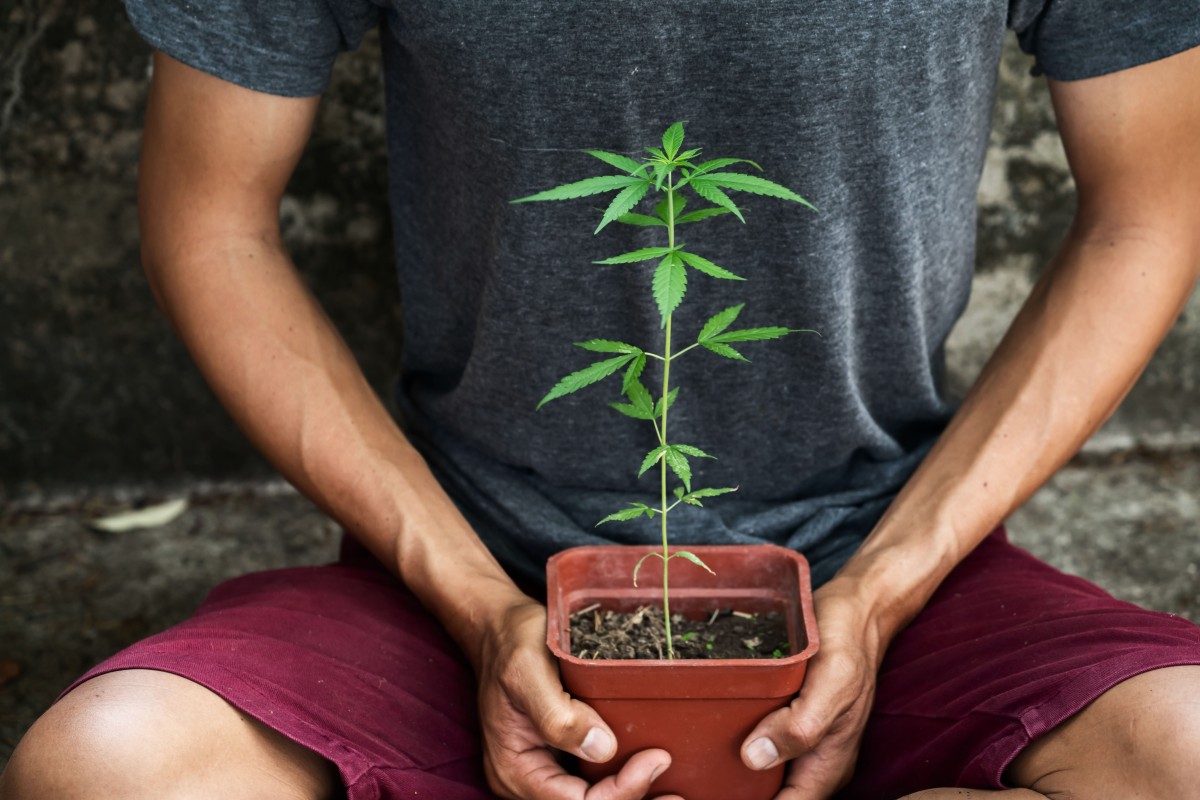
Growing your own weed has lots of benefits to you. Besides growing the strains you like, you also get to enjoy the high-grade grass at a lower price. Better yet, when you learn how to grow weed, there’s just a lot of money-making opportunities you can bank on— for example, you can make a ton of money training people how to do it!

Following the legalization of weed in many states, people have become accustomed to buying weed from dispensaries and other authorized vendors. Many consumers do not take advantage of the opportunity to grow weed easy at home.
They perceive the process as challenging, time-consuming, and expensive. However, growing cannabis at home can be simple, fun, and cost-effective. It can be a rewarding hobby and even offer an excellent business opportunity.
This article provides a beginner’s guide to growing weed like a professional to give you the best yield. Like gardening, growing weed is a skill that you master over time. Let’s begin with the essentials for growing healthy buds:
Table of Contents
Essentials for growing cannabis
Everyone wants to grow weed until you mention the hard work it takes to harvest the dankest weed. You will enjoy your good Kush, but you must ensure that your cannabis plants get these essentials:
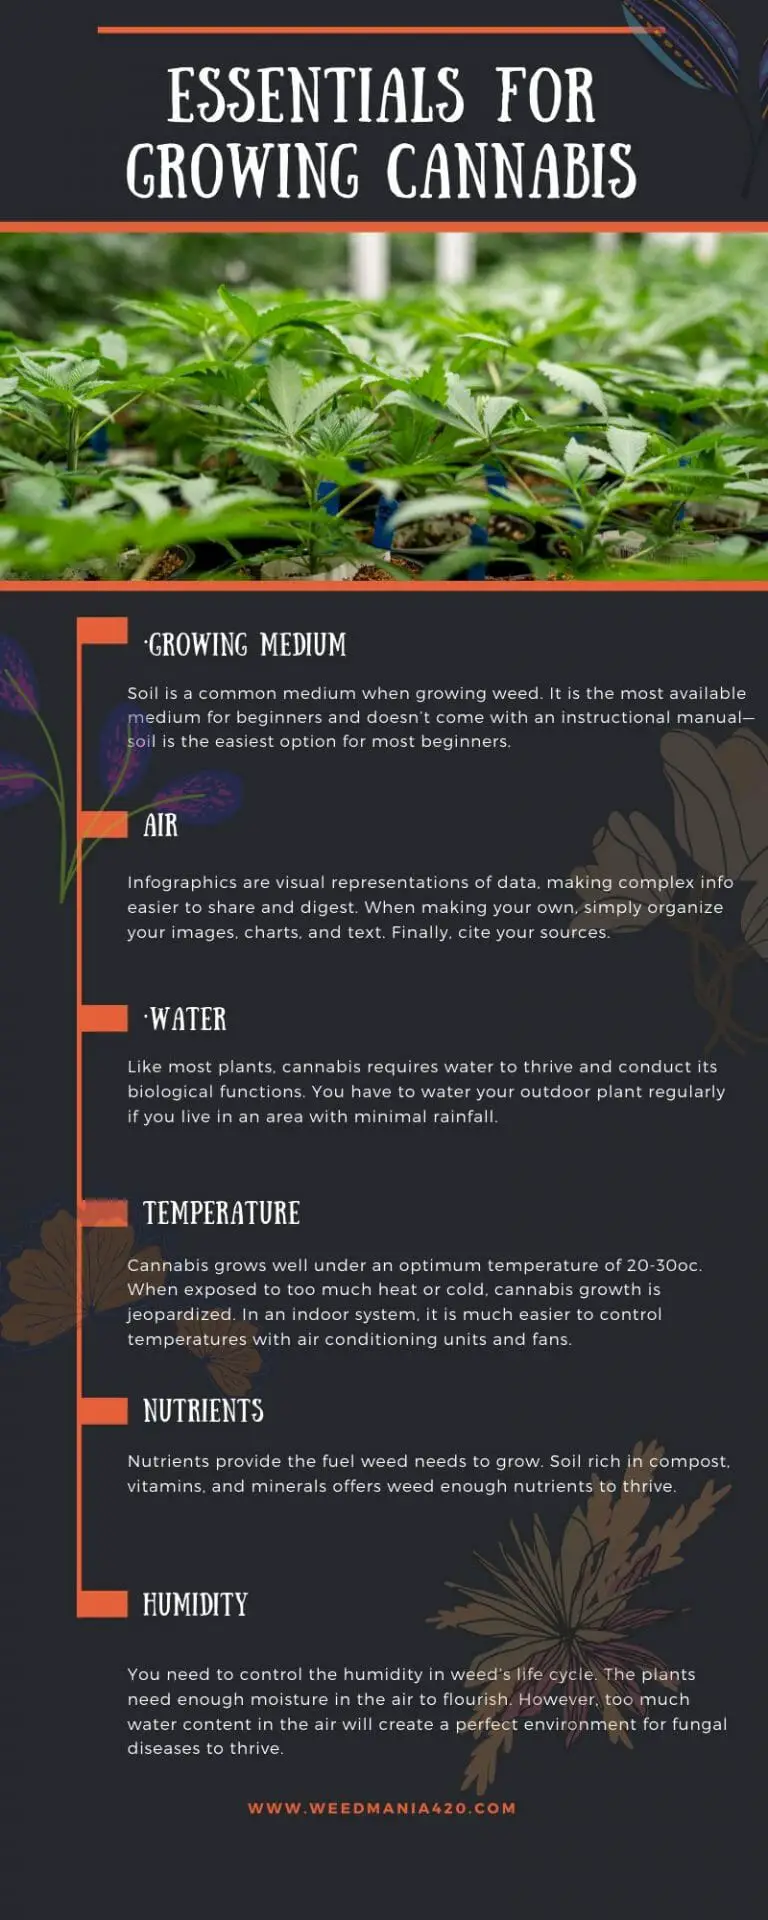
Growing medium
Soil is a common medium when growing weed. It is the most available medium for beginners and doesn’t come with an instructional manual— soil is the easiest option for most beginners.
Go for organic pre-fertilized soil because you won’t need to add additional nutrients. If you go for regular soil, you will have to use nutrient supplements to feed your plants.
However, the soil is not the only medium, and you can also use coconut coir, perlite, rock wool, and vermiculite. Alternatively, use deep water culture, aeroponics, and hydroponics.
Air
Weed requires fresh moving air to grow and facilitate the exchange of gases. For outdoor growth, your plants will be exposed to the breeze and hence will have sufficient air.
If you grow your weed indoors, you will require a fresh air source, stale air exhaust, and fan for air circulation. When you let stale air accumulate on your plants, you encourage pests, mold, and weak growth.
Since you will need to be stealth, ensure the air that goes out from your grow room has no smell. The best way to do this is to use carbon filters to purify the air that leaves the grow room.
Water
Like most plants, cannabis requires water to thrive and conduct its biological functions. You have to water your outdoor plant regularly if you live in an area with minimal rainfall. Your indoor weed also requires water to grow.
Many beginners make the mistake of overwatering their weed that increases susceptibility to fungal root diseases. Do not make this mistake.
Also, find a way to contain the overflow from your pots; the best way to do this is to rest the pots on pale lids from where the overflow can be drained.
Still, that’s just for a beginner, for full commercial growing, you will need a waterproof floor or just a customized built-in drainage system for the overflow.
Temperature
Cannabis grows well under an optimum temperature of 20-30oc. When exposed to too much heat or cold, cannabis growth is jeopardized. In an indoor system, it is much easier to control temperatures with air conditioning units and fans.
Nutrients
Nutrients provide the fuel weed needs to grow. Soil rich in compost, vitamins, and minerals offers weed enough nutrients to thrive.
There are special nutrient blends for weed grown in neutral mediums and soil-less mediums.The essential nutrients that you will need to supplement are nitrogen, potassium, and phosphorous.
Always keep the quantities of your nutrient supplements measured at all times. Too much nitrogen will poison your cannabis plants. Keep it to the optimum.
Humidity
You need to control the humidity in weed’s life cycle. The plants need enough moisture in the air to flourish. However, too much water content in the air will create a perfect environment for fungal diseases to thrive.
Also, invest in climate controls. You’ll need to maintain the ideal conditions for your plants to flourish, a hygrometer and a thermostat are essentials here.
You can set the thermostat to turn the exhaust fans on when temperatures hit a set high and keep the fans running until the temperatures fall to an optimum level. Set a 24-hour timer for the lights so that the lights turn on and off automatically at the same time every day. Hence avoids stressing your plants.
Using these automated climate controls makes it easier for you and guarantees the best health for your plants.
The best way to ensure that your grow room serves the needs of your plants is to use grow tents. Learn how using a grow tent helps you control critical climate factors, and guarantees best buds.
How to Grow Cannabis: A Beginner’s Guide to Growing healthy buds
Whether you’re the eager stoner who just wants to get plenty of healthy buds for less or a cannapreneur who wants to create a business growing weed, this step-by-step weed growing guide will help you begin growing your own potent buds.
1. Decide where to grow.
The first decision you make is deciding where to plant it. Do you want to grow it indoors or outdoors?
Many people with a garden opt to grow their weed outdoors. The main benefit of growing marijuana outdoors is that it is cheaper and requires less investment up-front. If you live in a good environment, you don’t have to buy grow lights because the sun provides free light. Grow light is an expense that overwhelms many people.
Nevertheless, growing weed outdoors exposes it to the harsh environmental conditions. With indoor growth, you control all the factors that affect your plant— temperatures, humidity, light, nutrients, water, and ventilation.
Indoor growing allows you to manipulate these factors to accelerate the growth of weed and guarantee you a bountiful harvest.
2. Choose the strains to grow.
The seeds you choose affect the quality, size, and use of weed, and hence you have to choose the right seeds. Your choice of strain will depend on the use of the weed, the effects and appearance you desire, and the timeline and harvest cycles you want.
You can buy seeds and clones from cannabis collectives and dispensaries. You can also purchase cannabis seeds online from a seed bank. Choose a strain that is easy to grow, germinates quickly, produces many buds, and has high potency.
Though many factors influence the type of seeds you will be buying, the effect you want is what you should consider first. If you grow weed to reap its medicinal benefits, you will have to choose strains with a higher CBD content. Some of the widely used strains for medicinal purposes include; White Widow, Northern Lights, Stardawg, and Godberry.
If you need weed for all its elevating effects, you will choose strains that are richer in THC than CBD. These are the strains you need to grow to get the near psychedelic effects every recreational cannabis user hopes to get high on. Some of the strains you can buy in this category include; OG Kush, Casey Jones, Blue Dream, Girl Scout Cookies, and Sunset Sherbet.
3. Designate cannabis grow room
When growing weed indoors, you need to set up a suitable space for it. The space can be a closet, tent, cabinet, spare room, or corner of a basement. You need to modify the space to meet the needs of the plants.
Ensure that you make a blueprint for the room to determine the system of light, airflow, and water management to utilize. Choose a convenient grow room so that you monitor your plants carefully, cool, and dry to cater for temperature and humidity concerns and stealth to keep your plants from harm.
Key factors to consider when preparing your cannabis grow room
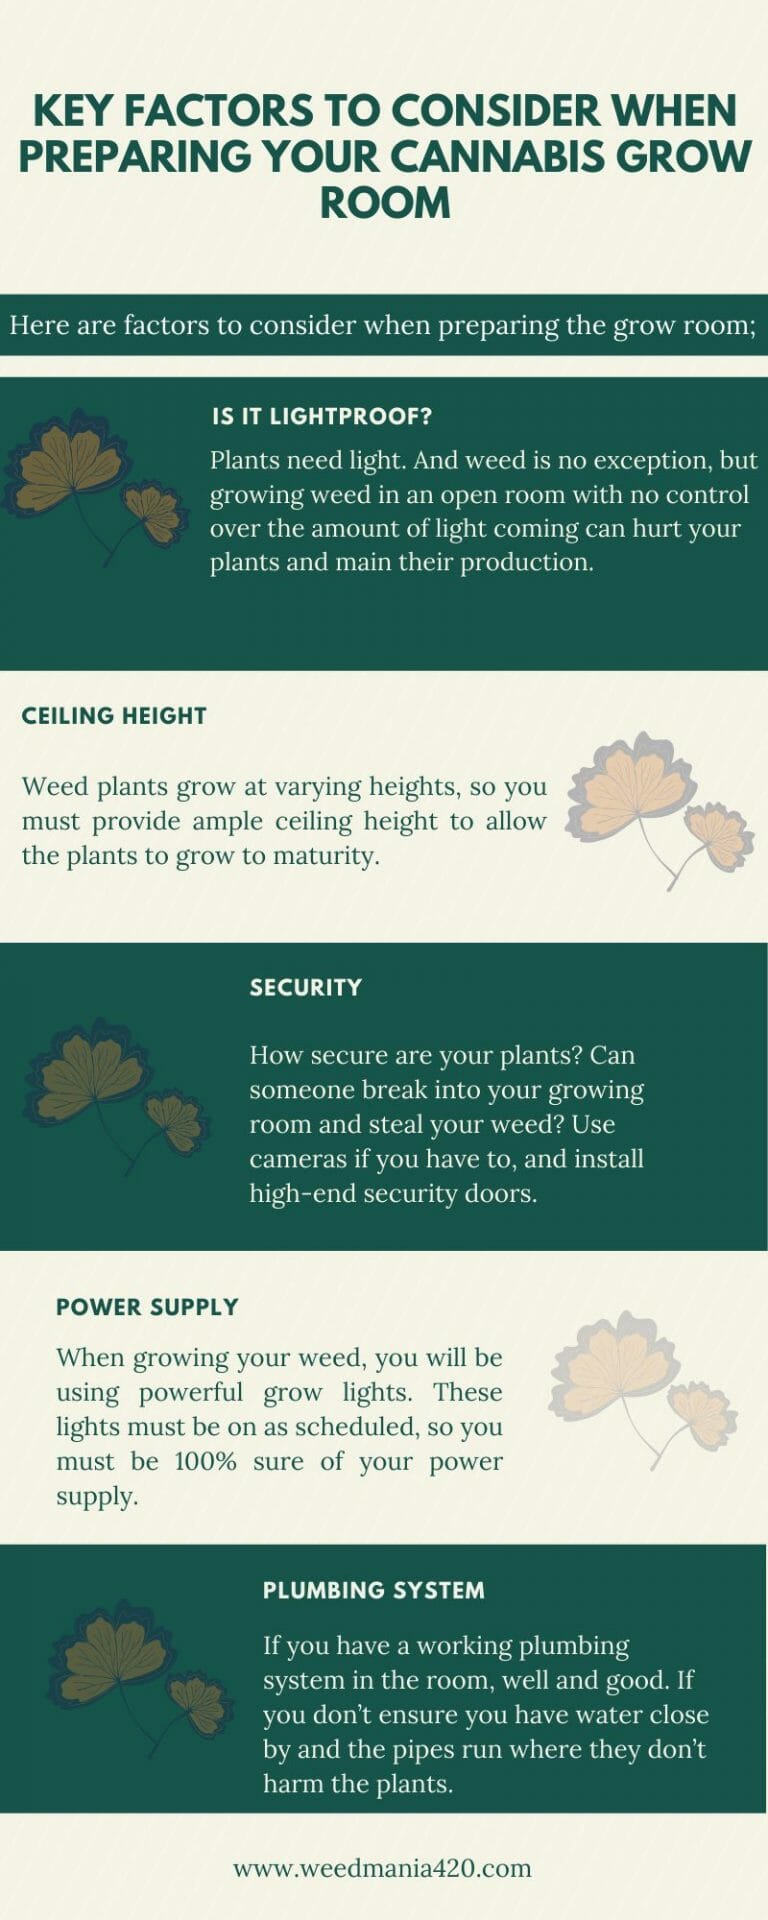
When preparing your grow room, you must keep the needs of your cannabis plants in mind. Though the requirements might vary at every stage of growth, ensure the grow room allows you to tweak the conditions within for the growth of best buds. Here are factors to consider when preparing the grow room;
Is it lightproof? – Plants need light. And weed is no exception, but growing weed in an open room with no control over the amount of light coming can hurt your plants and main their production.
Choose a room that is entirely light proof. This way, you can use grow lights to only give them light when they need it and darkness as their stages of growth dictate.
Ceiling height- Weed plants grow at varying heights, so you must provide ample ceiling height to allow the plants to grow to maturity. While auto-flower strains grow short, Sativa strains are way taller.
Besides, think of lights that will hang from the ceiling and the 2ft. distance you should keep between them and the plants. See, you need ample ceiling height; it also allows free air circulation to plants.
Security– How secure are your plants? Can someone break into your growing room and steal your weed? Use cameras if you have to, and install high-end security doors. If you’re doing this on a professional level— grow large scale for business, then you must put better security in place.
Also, contain the smell of your plants. When your plants begin to flower and mature, they begin to emit a strong scent that might get your neighbor’s attention. Use carbon filters to contain the smell. You don’t want your neighbor calling a cop on you!
Power supply– When growing your weed, you will be using powerful grow lights. These lights must be on as scheduled, so you must be 100% sure of your power supply.
Plumbing system– If you have a working plumbing system in the room, well and good. If you don’t ensure you have water close by and the pipes run where they don’t harm the plants. Water is an essential item; make sure it runs when needed.
4. Choosing Grow Lights

Light is the food of cannabis plants and affects the quality and quantity of your cannabis yields. You will need to find grow lights of optimum intensity for your plants. We will not talk about the intensity since this is a beginner’s guide, but we must address the light cycles.
The duration of exposure to light will differ at every stage. The plant as the seedling stage will need exposure for 16 hours and darkness for 8 hours. At the vegetative stage, keep the lights on for 18 hours and 6 hours of darkness.
At the flowering stage, keep the lights on for 12 hours and off for 12 hours. You must adhere to these light cycles strictly to ensure a high-quality yield.
With the legalization of cannabis, the market is flooded with lighting options and grow chambers for indoor weed growing. Your budget determines the lights that you purchase.
Many weed growers opt for HID grow lights because they merge output, efficiency, and value. However, you can begin with LED grow lights.
5. Germinate the seeds
You might have the best seeds, but if you don’t know how to germinate them, you will lose a lot of them. Though sometimes you find tuds, most good seeds fail because of poor germination techniques. Here’s one germination technique that will give you close to 100% success. This is called the paper towel method.
First, fill a glass tap water and immerse the seeds in it. Poke the seeds to help them sink then leave them submerged in the water for two days. After the second day, drain the water from the glass and fold the seeds in a paper towel.
Ensure the seeds are slightly apart. Keep the moist paper towel in the dark place. Check after two days, and you’ll notice the taproots have come out. You might want to give them one more day before planting them in the appropriate medium.
After planning into the appropriate mediums, keep controlling the essentials according to the stage.
How the paper towel germination is done
6. Cannabis plant care at the vegetative stage
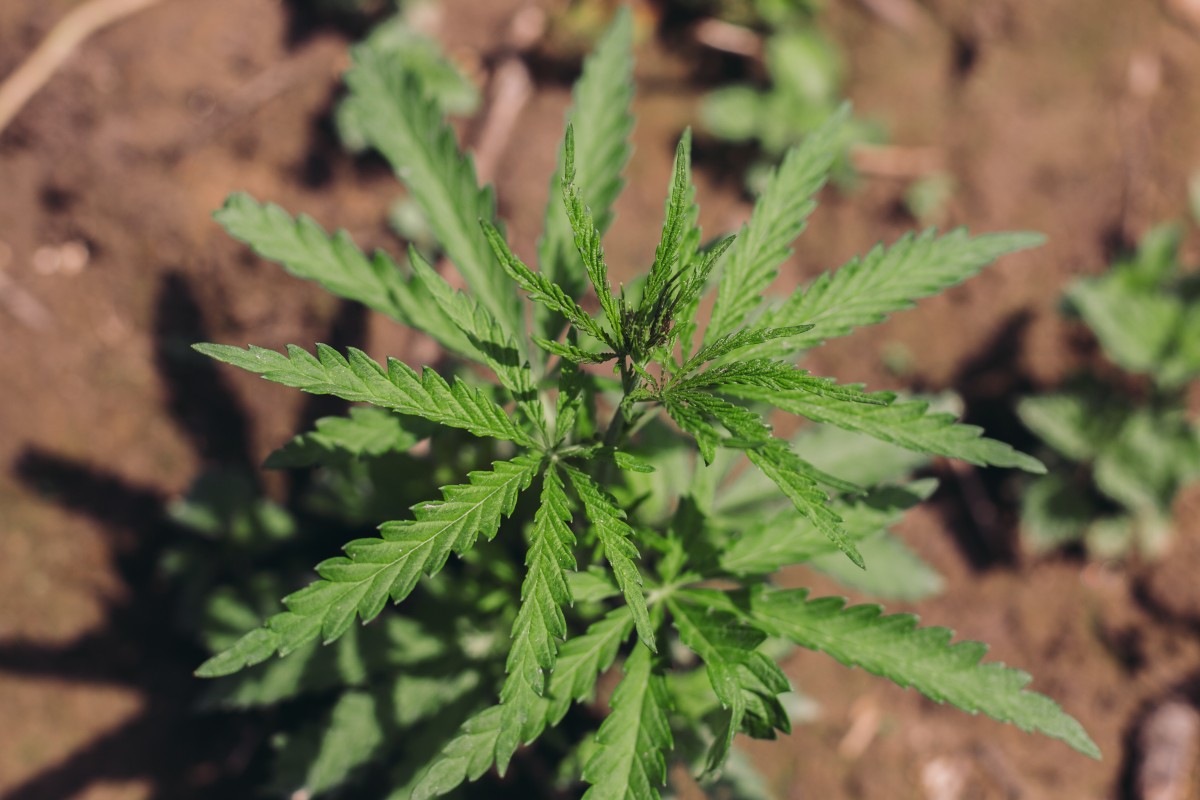
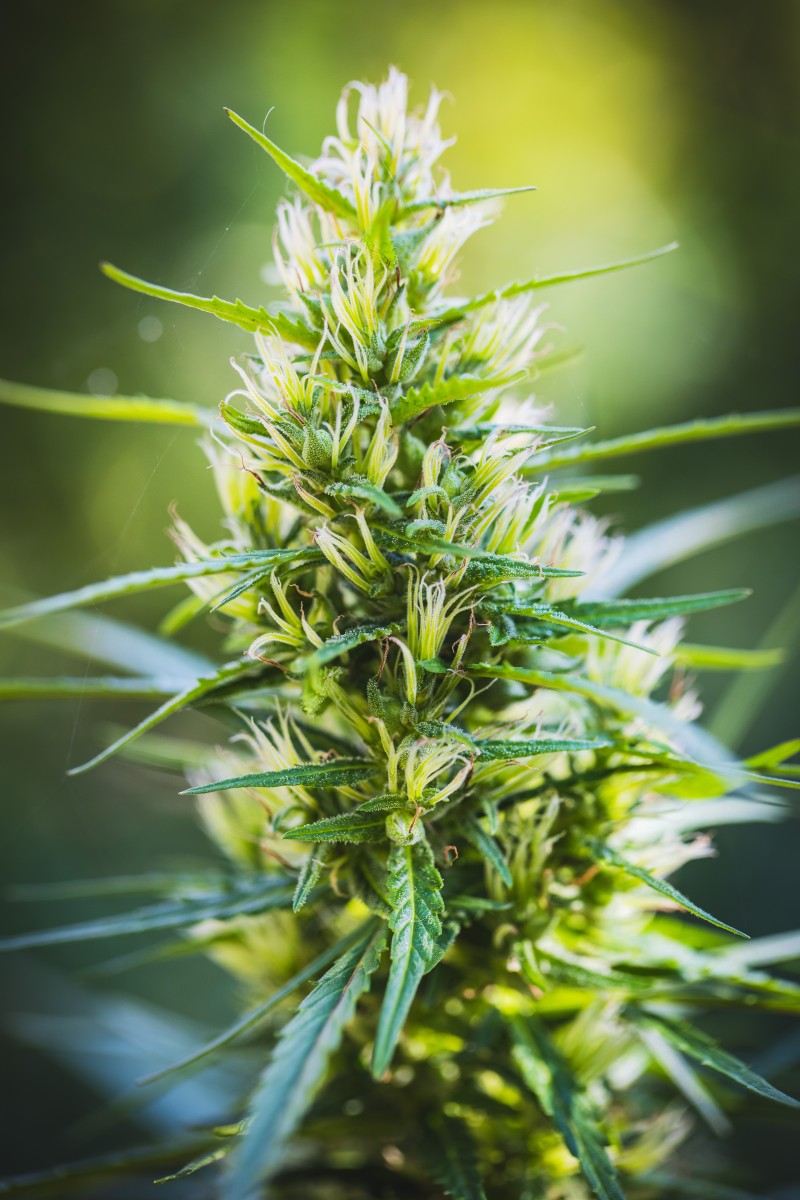
The vegetative stage begins after the seeds have grown enough roots to nourish them with nutrients and other growth essentials. The leaves are now above the ground and might dance to a soft breeze.
The best thing about the vegetative stage is that you always know how the plants feel by looking at their leaves; they should be deep green. Any yellowish hue is a signal of lacking nutrients.
This stage also comes with a lot of work. If your plants begin lacking at this stage, it might take them longer to recover and lower the quality of your yield. Here is how you take care of your cannabis plants at the vegetative stage;
Lighting: Your plants have grown leaves, which means they can now produce their own food through photosynthesis (obvious, but we have to begin from familiar ground, don’t we?). At this stage, your plants need more prolonged exposure to full-spectrum grow lights— 18 hours of exposure.
At the vegetative stage, your plants need more light for faster growth, but still, you have to mind the distance between the light source and the plant— it grows, and you don’t want the leaves to get ‘cooked,’ yeah. Maintain a 2ft. distance between the light source and the top of the plant.
Without proper lighting, your cannabis plants will begin growing weaker stalks as they try to reach for the light outside your grow tent. Besides, poor light schedules will delay their transition to the flowering stage.
Humidity: Your plants need moderate humidity at the vegetative stage. Humidity balances off the heat of exposure to light for 18 hours. Too much moisture content might create room for mold and other disease-causing micro-organisms. Keep the humidity at 65% with temperatures at 72 and 85 degrees.
Nutrients: The essential nutrients for your weed plant are nitrogen, phosphorus, and potassium—however, the ratios matter.
Go for nutrients with higher nitrogen content, followed by phosphorous, and lastly, potassium in low quantities. Go for 2-1-1 of the NPK ratio.
The numbers might be different but ensure they go in that level of concentration; high nitrogen, moderate phosphorous, and low potassium.
Essential tips for training your plants during the vegetative stage
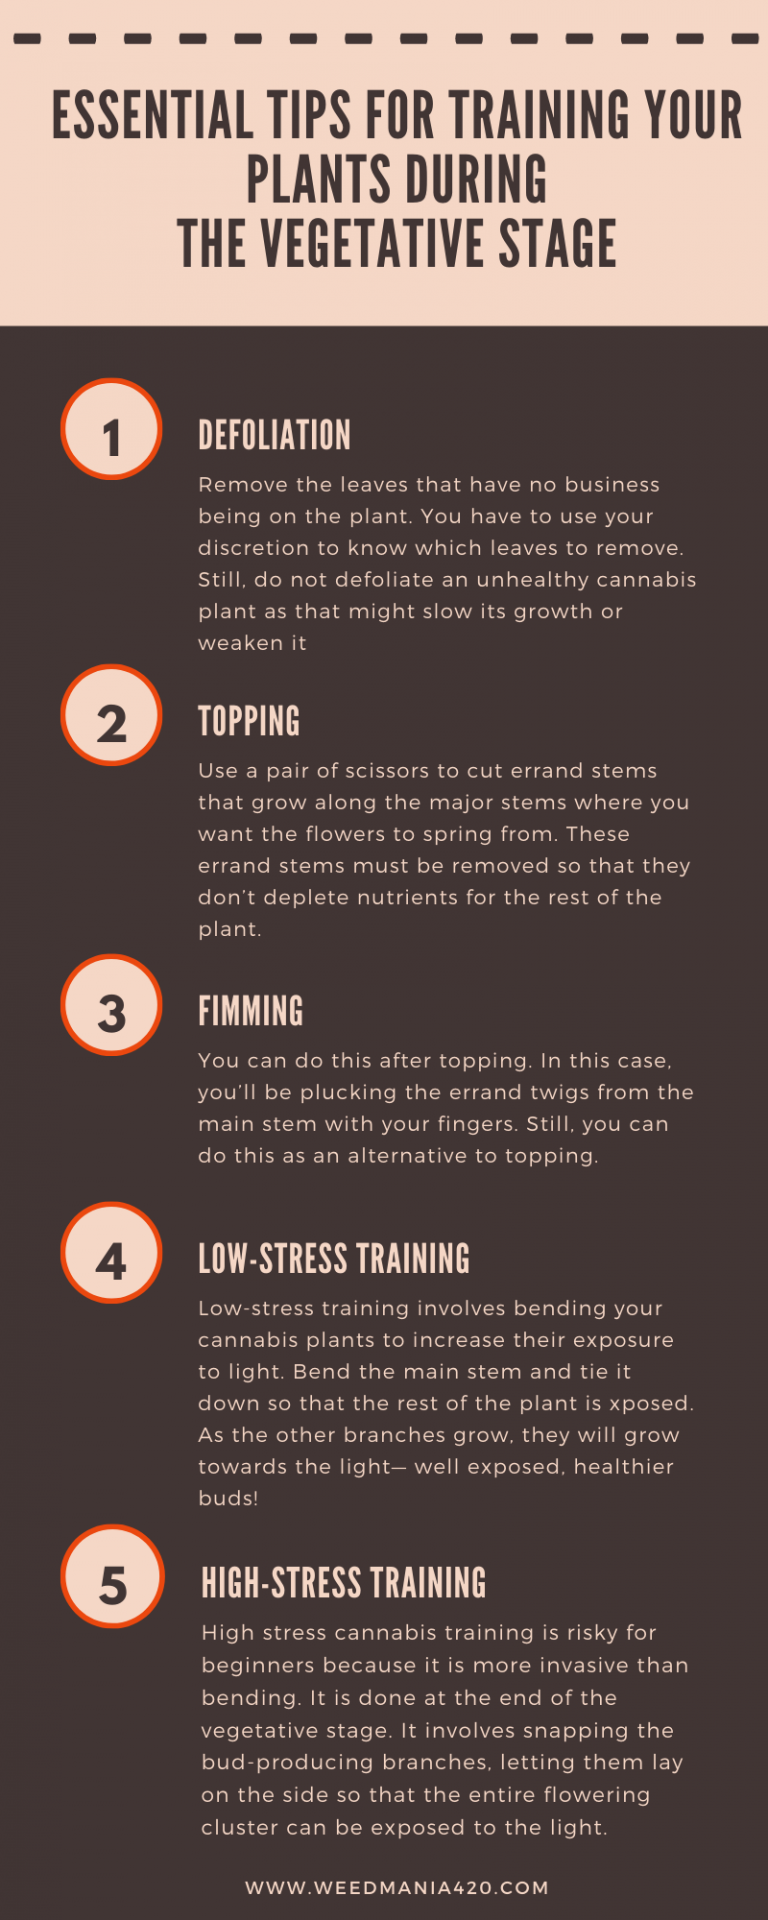
You need the plants to grow into healthy buds, so you will ensure that you train them to occupy the space you allow them to. When they form a bush, it means the light is not sifting through the leaves, and that might limit the size of the buds or even cause pests.
If you want the plants to enter the flowering stage healthier, you must learn how to do the following:
- Defoliation- Remove the leaves that have no business being on the plant. You have to use your discretion to know which leaves to remove. Still, do not defoliate an unhealthy cannabis plant as that might slow its growth or weaken it.
- Topping – Use a pair of scissors to cut errand stems that grow along the major stems where you want the flowers to spring from. These errand stems must be removed so that they don’t deplete nutrients for the rest of the plant. Without removing them, your buds will be a little smaller, and your plant’s health will dwindle since the bush blocks the light.
- Fimming- You can do this after topping. In this case, you’ll be plucking the errand twigs from the main stem with your fingers. Still, you can do this as an alternative to topping.
- Low-stress training – Low-stress training involves bending your cannabis plants to increase their exposure to light. Bend the main stem and tie it down so that the rest of the plant is exposed. As the other branches grow, they will grow towards the light— well exposed, healthier buds!
- High-stress training- Though we’ve mentioned other high-stress cannabis training techniques like topping and fimming, Super cropping is riskier for beginners because it is more invasive and comes later when the plant’s branches have hardened. It is done at the end of the vegetative stage, or during the early stages of flowering. It involves softening the core of the bud-producing branches, stressing them to make more THC-rich buds. This process should only be done by experts. Read this article to know how it works.
7. The flowering stage
The flowering stage is the stage most growers love because it brings the promise of frosty buds. However, the flowering stage also comes with strict care routines for your cannabis plants. You shouldn’t slow down on plant care after the vegetative stage if you want the best potent buds from your cannabis plants.
How to take care of cannabis at the flowering stage
At the flowering stage, the plant shifts its energy from growth to developing buds. You will, therefore, notice a slowed growth in them. The slow growth shouldn’t be a cause for alarm; it is how it should be.
Also, at the flowering stage, the lighting cycles will change. Even the nutrient needs of the plant change too. With a lot changing within a short span, your plants will be more prone to issues that might reduce your yield quality.
So, brace yourself for an 8-week long strict care routine for your blooming buds. Tend to them well from the moment they transition from the vegetative stage through the buds’ growth until they ripen and ready for harvest. Here are the best flowering stage care tips for cannabis;
Lighting: At this stage, you must keep the lights on for 12 hours and off for 12 hours. The light is essential, but darkness is what keeps the plants flowering. If you fail at keeping them in the dark for 12 hours, they’ll revert to the vegetative stage— which is more concerned with growing leaves and stems. The flowering stage is responsible for the big nugs.
As a beginner, you might keep changing the light cycles manually, but if you intend to do it the right way and allocate a budget, you can have a timer that automatically turns the light off and on in 12-hour intervals.
The best thing about growing cannabis indoors is that it allows you to tweak the lighting cycles easily— it gives you total control of the duration and intensity of exposure to the light.
Also, note the distance between the plant and the grow lights. Though growth is slow at the flowering stage, you still have to maintain 2ft between the light source and the top of the plant. Luckily, you shall have topped the plants, increasing their exposure to the light.
Humidity: While moisture content in the air is something your weed plants enjoy in the vegetative stage, at the flowering stage, high humidity can swathe your buds in powdery mildew. That creates room for more pests to thrive and might reduce the quality of your yield, or worse, cause bud rot. Maintain 45% humidity during this stage.
If you find yourself struggling to keep humidity in check, you can use dehumidifiers to keep the grow room within the optimum.
Temperatures: At the flowering stage, your plants are susceptible to botrytis. When the temperatures fall too low, they might catch the rot. Keep your temperatures between 22- 23 degrees during the day and between 21-22 during the night. Strictly keeping these ranges helps you evade diseases, but also helps potentiate your buds.
Take care of the smell: At the flowering stage, the plant begins to emit the known marijuana smell that might get your neighbor’s nose in your grow room. You need to be stealth, so use carbon-air filters to keep the air clean before it leaves your grow room.
Nutrients: During the first six weeks of the flowering stage, your plant will need more phosphorous and potassium. When buying fertilizers for the flowering stage, go for such ratio 0:5:4.
While it’s essential to feed your plants, you mustn’t overfeed them as that might cause nutrient burn.
Support the buds: Your plant still needs exposure to light, but the buds might get heavier and weigh your plants down. Support the stems with the heaviest buds to retain their exposure to the light.
Flushing: This process rids the plant off nutrient deposits and forces it to feed on nutrients in the store. This helps in improving the quality of your smokes— makes it smooth and potent in all the good stuff.
The easiest way to flush is to begin watering without adding nutrients two weeks before harvest. However, your plants’ health is a factor you must consider as flushing might ruin the plants. This is a process that’s better left to experts.
How to know when to harvest cannabis
The game of harvesting is in timing. If you play it right, you get the best potent buds; if you harvest too early or too late, you miss all the rich content.
Keep an eye on the buds. Look out for trichomes. You can use a magnifying glass to zoom in on them. The color of trichomes will change from the clear crystals to amber. This the best time to harvest.
However, the time to harvest will also depend on the content you’re going for— for THC, harvest when the trichomes are milky white while for high CBD wait till the trichomes turn into amber. The lower leaves will also turn yellow.
8. Harvesting marijuana
Finally, you’re here. Congratulations. Seriously, you have done great, many people begin, but only a few get this far. This is the bit where you either enjoy the potent buds or cry in silence. Don’t worry. If you followed this guide, you’re on the safe side— your buds are the best you could ever produce as a beginner. You’ll perfect it with time.
How to harvest Marijuana
Time is up; the buds are ripe. And now this is the time to reap big. You have to do it right because the quality of your nugs depends on it.
Clean the dry leaves off in preparation for harvesting. Then leave the plants in the dark for 48 hours to avoid THC breakdown and help retain the quality of your flowers.
Cut the plant in large branches and hung them upside down for between 7-10 days. Keep your plants isolated from wind and heat. High humidity will also cause bud rot. Keep the humidity at 45-55%.
Also, the dry room should be in darkness because light will turn the THC trichomes in CBN, which might ruin the psychoactive effect of your buds. Keep the temperatures between 65-75 Fahrenheit.
After the 9th day of drying, your plant should be dry enough to break gently. You will feel the buds between your fingers, and it will feel crunchy when it breaks. That’s the time to begin the curing stage.
9. Curing Cannabis
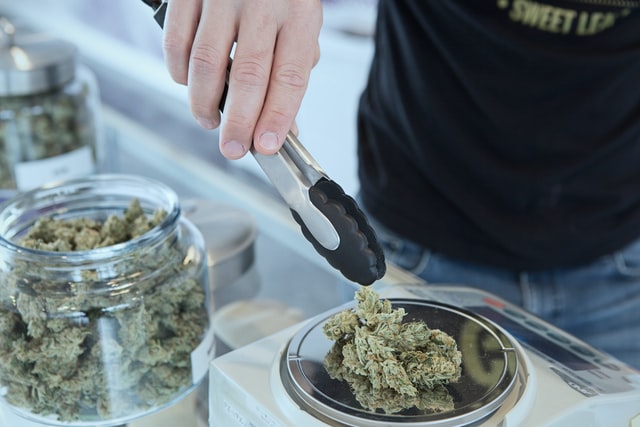
Begin by manicuring your plant. This means you pluck the leaves that are far from the buds, then inching closer to the buds. This process removes the leaves without trichomes. It improves the quality of your weed, and when you smoke it, it lacks the chocking sensation that makes people cough. It also makes it easier for the next stage of curing.
The next stage of curing involves putting your buds in a jar or Ziploc bags. Do not fill the jar to the brim; leave air space at the top. The jars should be transparent so that you can see if there’s a moist layer on your buds. Make sure your buds aren’t moist before putting them in the jars. If you sense the moisture content in the jar is increasing, leave the jar open until moisture escapes.
Curing your buds helps improve their taste and making them smooth— you’ll enjoy your good Kush without coughing. It also helps eliminate mold that might interfere with the taste of your buds. Open your jars daily and examine the health of your yield. Opening your jars escapes stale air and allows fresh air to enter the jar, freshening your buds.
Continue with the curing process until your buds are dry. After, they’ll be in good condition for long-term storage without losing potency.
How long does it take to grow weed?
The period it takes your plants to mature depends hugely on the strain. For instance, the autoflowering strain takes a shorter time— about 9 weeks to be ready for harvest. It will take between 3-5 months for you to grow and smoke your own potent buds.
When starting your first weed growing project, it is advisable to start small. A small project is less expensive to set up, easier to monitor, and in case of mistakes as a beginner grower, the repercussions will be less costly.
Conclusion
Growing marijuana is a rewarding venture. The more you care about your weed plants, the more they will care about you. You know, good buds always spread love. I hope you follow everything here and get a bountiful harvest, but do not fret if you miss a few things. As you learn more, you begin to know how to make the best grow room for your chosen strains. Enjoy your weed now.
Like!! Thank you for publishing this awesome article.
Welcome, you’ll find more articles on the site worth your read, thanks for passing by.
I could not refrain from commenting. Perfectly written!
I hope you can now begin growing with fewer hassles!